

This blog walks you through how to plan a construction or landscaping job when using heavy equipment rental. It offers practical tips on selecting machines, scheduling delivery, preparing the site, and coordinating attachments. If you're serious about staying on time and on budget, this guide helps you set up your rental for success.
Renting the right machine won’t help you — unless you plan for it.
Heavy equipment rental saves money and boosts productivity, but poor planning can still cost you time, budget, and efficiency. Before the machine hits your jobsite, a few key steps can make the difference between smooth execution and expensive delays.
Here’s how to plan your project the right way — with rented heavy equipment.
1. Define the Work, Not Just the Machine
Start with the actual task, not the equipment.
Ask:
- What needs to be done? (digging, lifting, grading, demolition?)
- What materials are being moved or installed?
- How much time do you realistically have?
Once that’s clear, match the work to the type of equipment. For example:
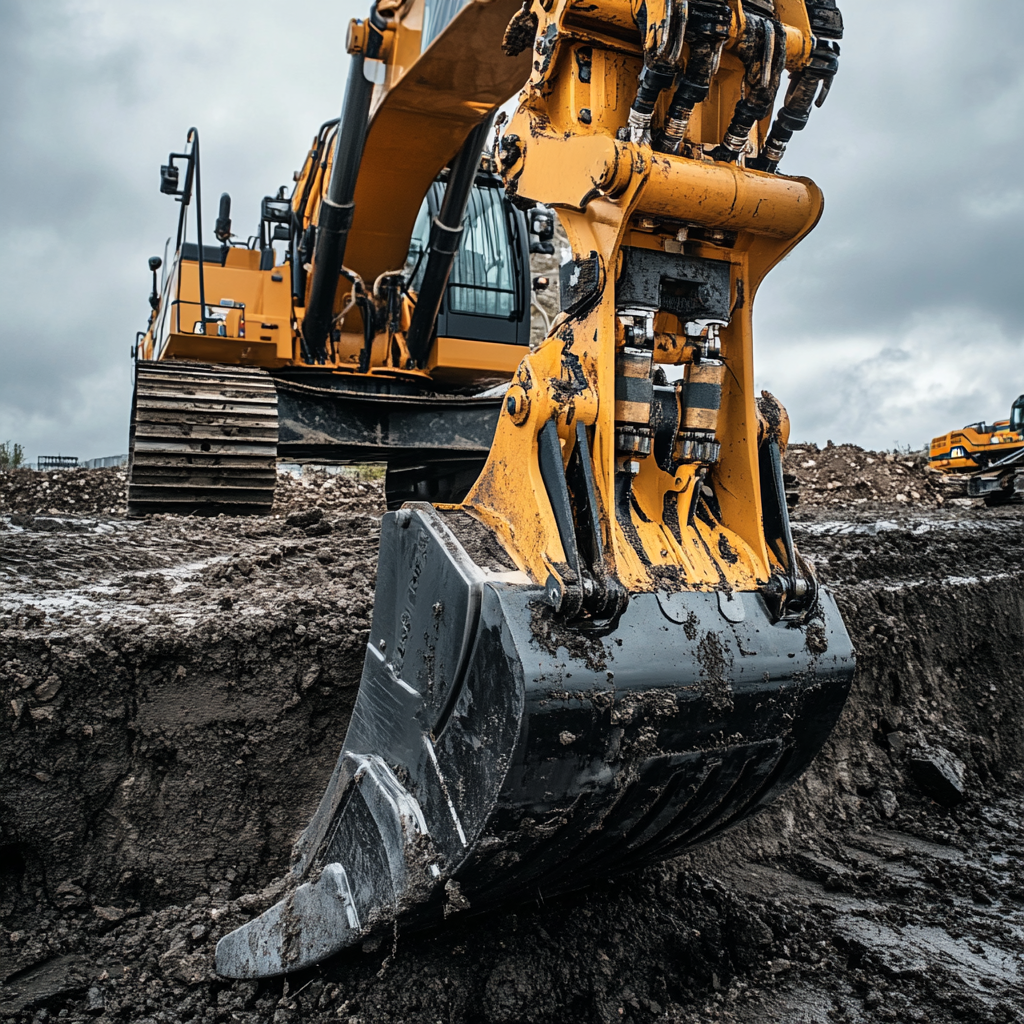
- Trenching or foundation digging → Excavator or Mini Excavator
- Soil grading or brush clearing → Skid Steer or Dozer
- Pallet lifting or high-access installs → Telehandler or Forklift
2. Assess the Site Access and Terrain
Your rental provider can’t guess this — and a lot of rental mistakes happen here.
Measure your access:
- Gate or entrance width
- Overhead clearance (trees, wires, balconies)
- Weight limits on driveways or pavement
- Distance from drop-off to work zone
Check terrain:
- Is the ground flat, sloped, muddy, sandy, or frozen?
- Will wheels get stuck? Should you rent a tracked machine?
For reference, a Bobcat S595 skid steer is about 66" wide, while a compact excavator like the Bobcat E20 rental can retract to just under 40". Match the machine to the space.
3. Choose Attachments Early (Not Last Minute)
Attachments turn general-purpose machines into job-specific tools. Don’t wait until the day of delivery to figure out what you need.
Some top attachment examples:
- Augers – for post holes, piers, or planting
- Hydraulic breakers – for concrete or asphalt demo
- Grading buckets – for leveling and final prep
- Pallet forks – for lifting materials
Make sure your machine has compatible hydraulic hookups or quick-attach systems. Learn more in our blog on Top Excavator Attachments.
4. Schedule Delivery Based on Workflow — Not Just Convenience
It’s tempting to have the equipment dropped off before you’re fully ready. But sitting idle = wasted rental time.
Tips:
- Have materials on site first (concrete, pipe, gravel, etc.)
- Mark dig lines and trench locations in advance
- Get permits handled before delivery
- Book delivery the afternoon before or the morning of work start
Many contractors plan rentals in blocks — especially when working on weekends or during short weather windows.
5. Know What’s Included in the Rental
Before booking, confirm:
- Fueling policy (some rentals come empty)
- Damage waivers and insurance
- Delivery and pickup fees
- Cleaning or late return fees
- Weekend use included or not?
Clear answers = fewer billing surprises later.
6. Communicate With Your Crew or Subcontractors
Make sure everyone knows:
- What equipment is coming
- Who’s authorized to operate it
- Where it should be staged
- How long it will be on site
If you’re subcontracting excavation, verify that the crew is trained and insured to use the rental gear. Don’t assume — confirm.
Common Mistakes to Avoid
- Renting too small a machine and losing time on capacity
- Not booking early during peak seasons
- Forgetting to check slope or ground stability
- Ignoring safety zones around the work area
Plan Your Job Right with Heavy Equipment Rental
We help contractors and property owners choose the right machines, attachments, and delivery schedule — so jobs stay on time and on budget.
View our full rental fleet here or contact us today for expert tools advice and a free quote.


